Prepare the wall and tools
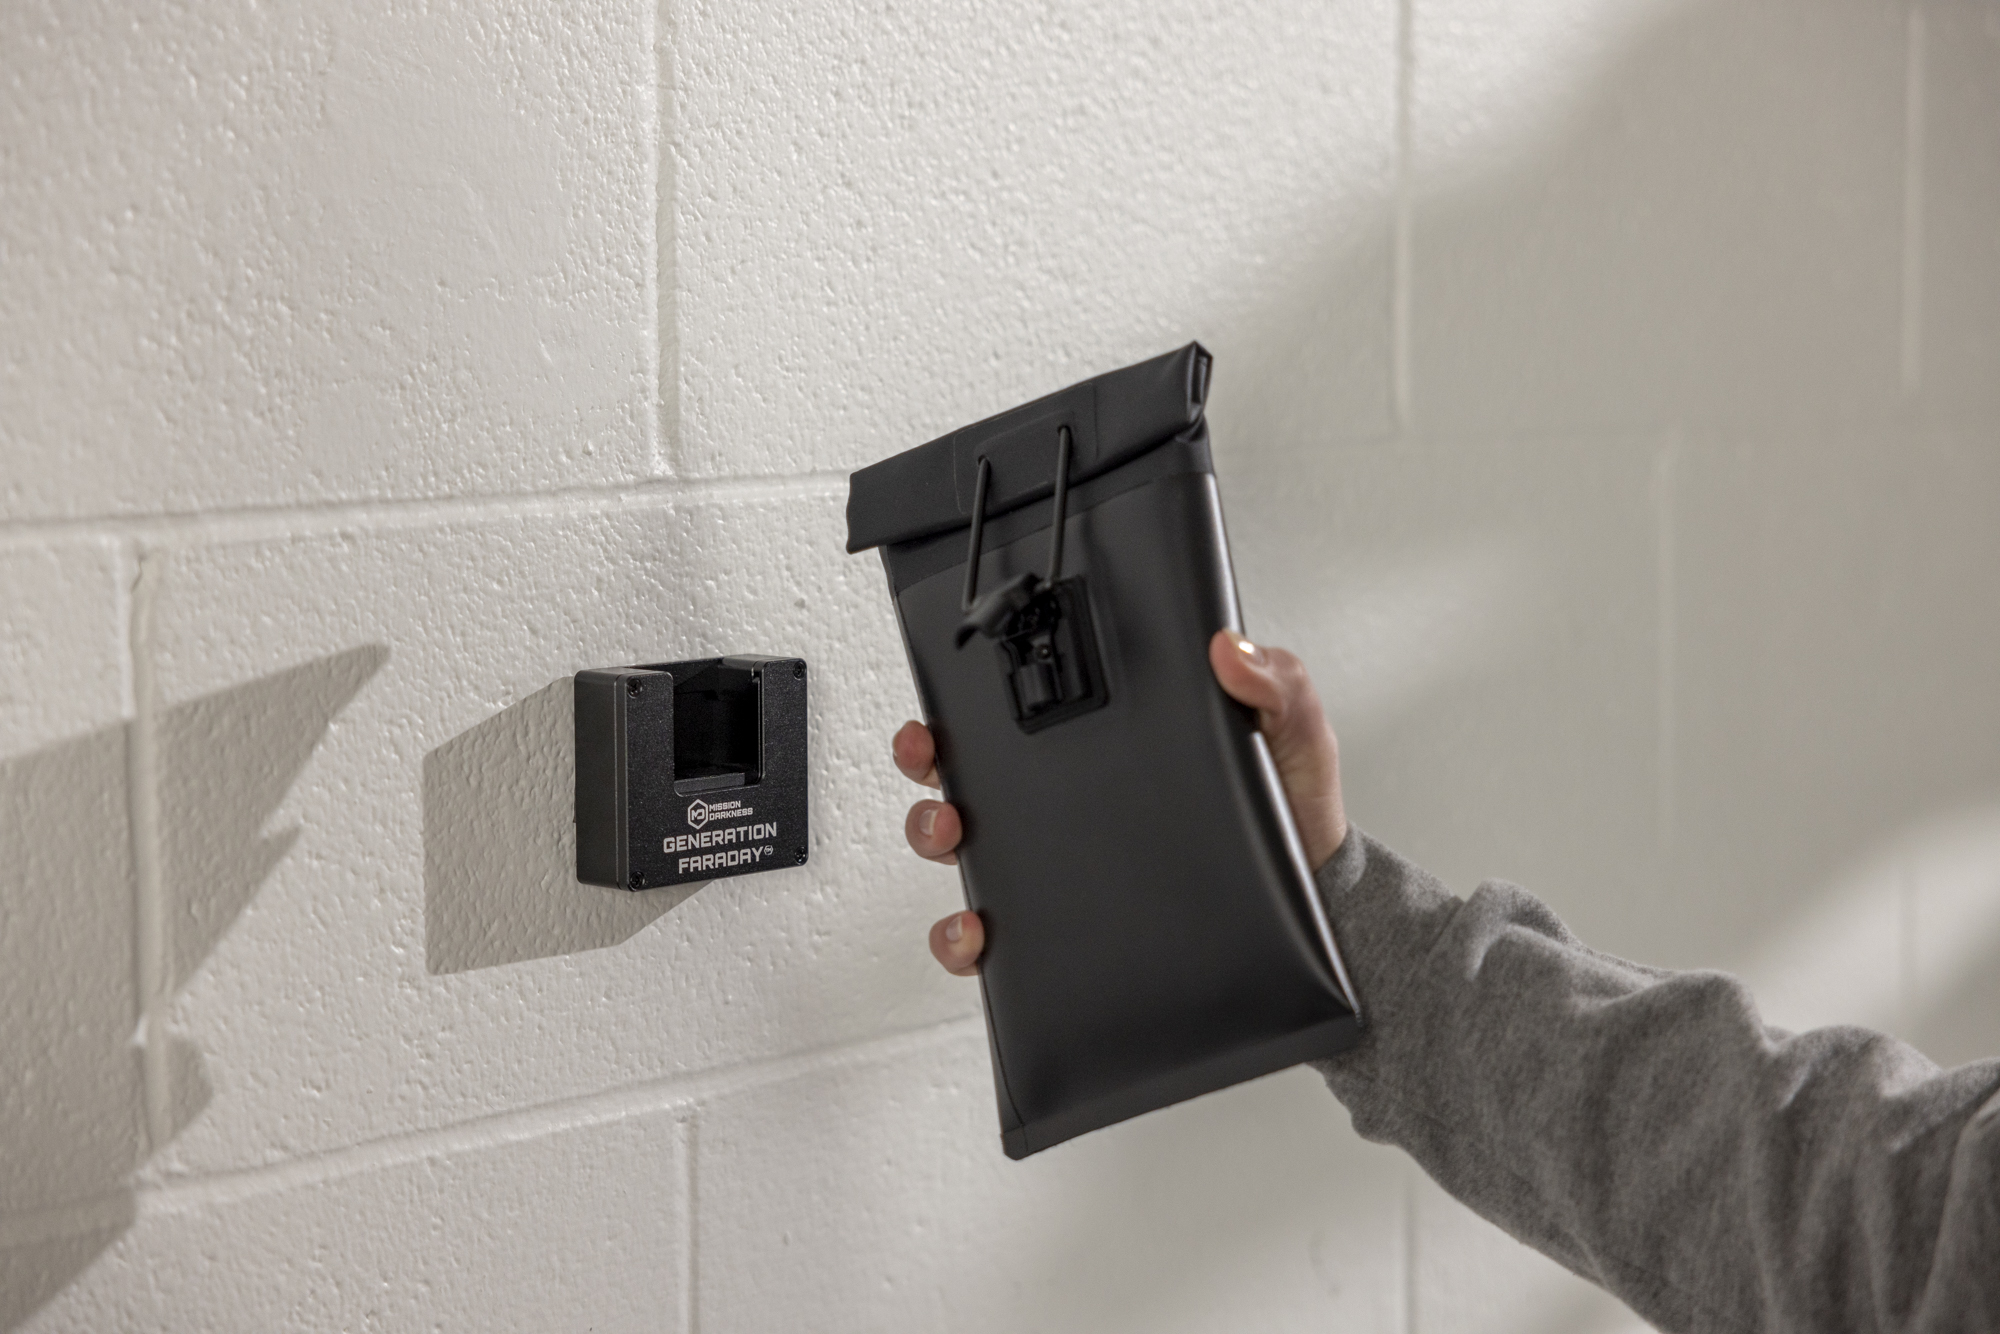
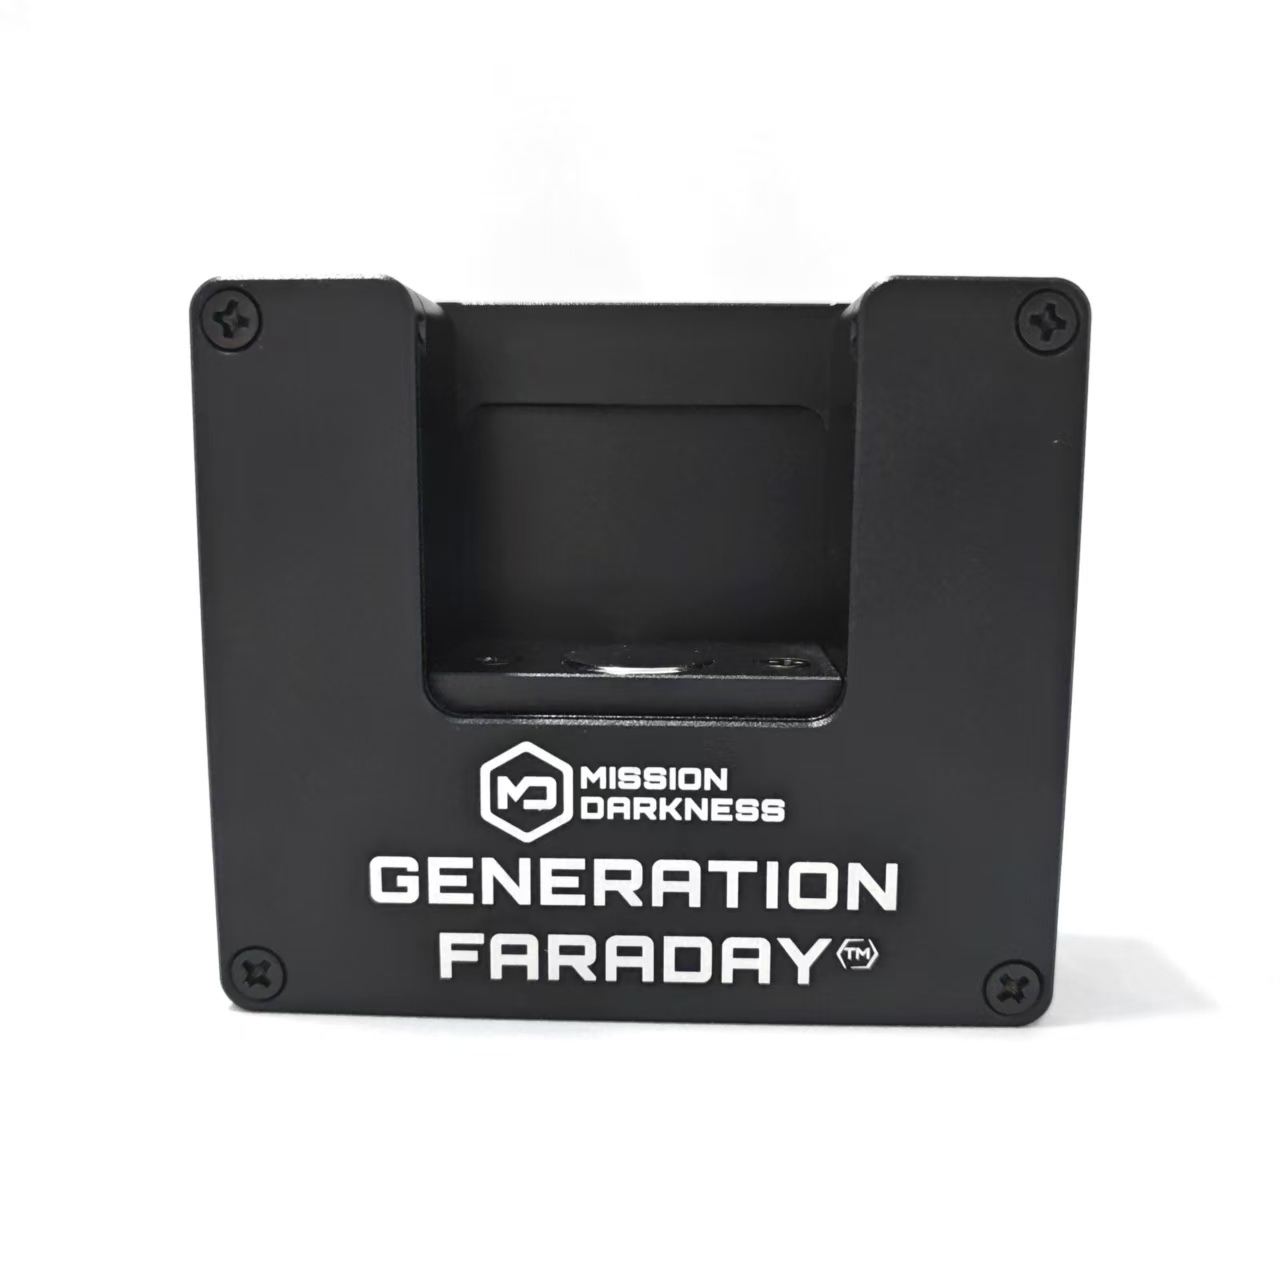
The dock includes a faceplate, pre-installed tamperproof screws and an L-shaped wrench. Mounting hardware is not included: choose fasteners suitable for the wall.
- Drywall or wood: use screws into a stud, or suitable drywall anchors if no stud is available.
- Brick or concrete: use appropriate concrete screws or anchors with pre-drilled holes.
- Have a drill, suitable bits, a pencil, level and stud finder available.
Before drilling, check for wiring or plumbing and choose a reachable mounting height.
Install in six steps
Remove the faceplate.
Use the supplied L-shaped wrench to back out the tamperproof screws. Keep the screws and faceplate for reassembly.
Mark the four holes.
Hold the dock level and mark all four screw positions.
Prepare the holes.
Drill pilot holes as appropriate for the wall material and chosen fasteners.
Secure the dock.
Fasten through the backplate’s four holes and tighten securely.
Refit the faceplate.
Reattach it using the tamperproof screws.
Test the release.
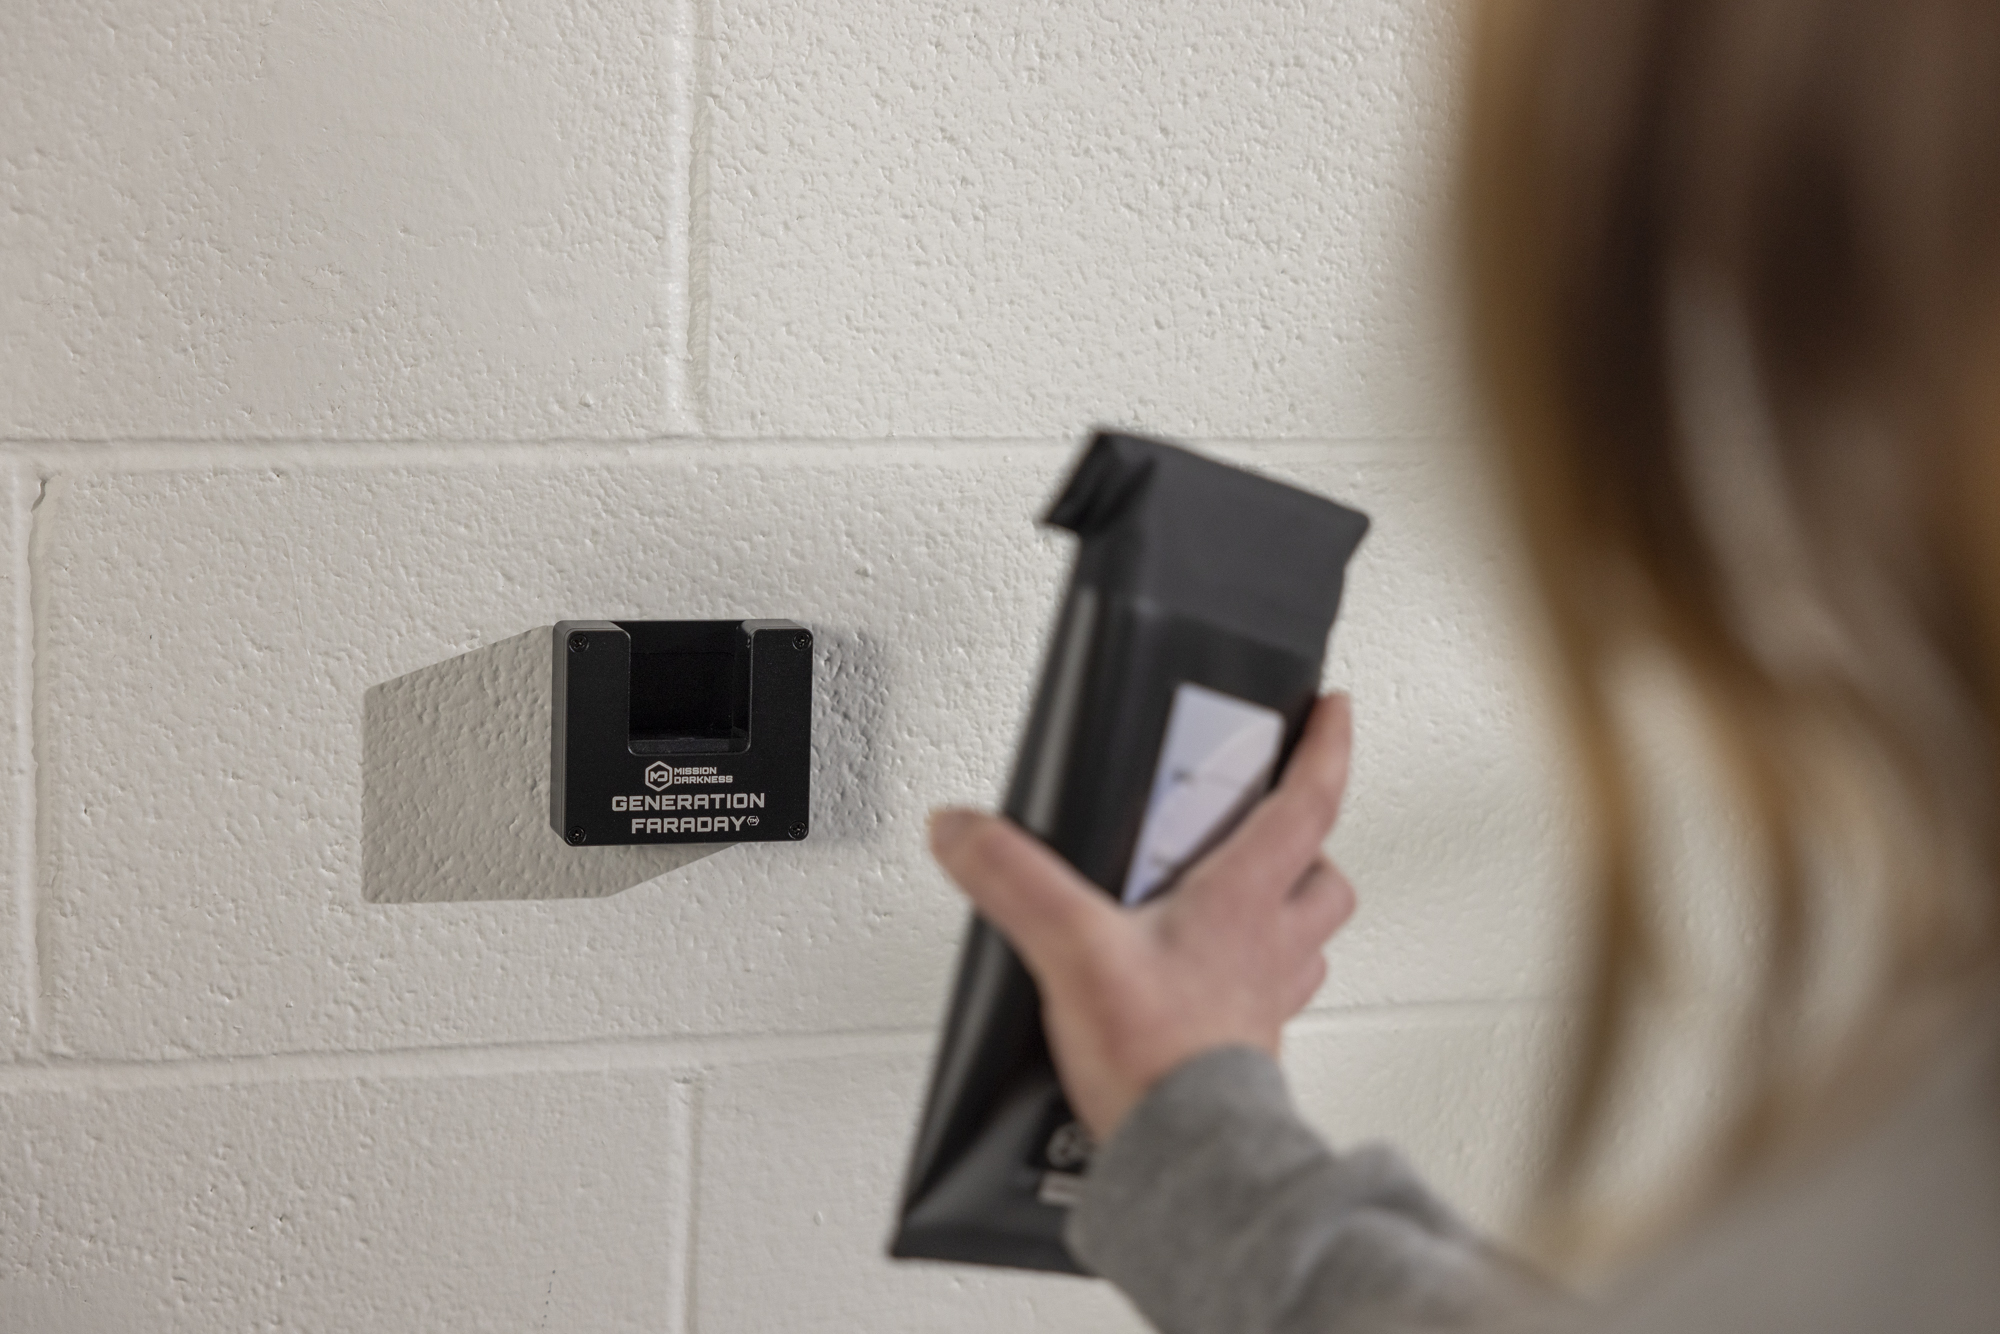
Seat the bag against the magnet, then push inward to open. Practice the action before students use the station.
Add the tamper-proof cover
The cover’s adhesive holds it during installation only. The official guide instructs you to remove the dock faceplate, align the backplate and cover holes, and fasten through both into the wall. Refit the faceplate and lock the cover door when not in use.
View the tamper-proof cover →Plan release across your campus
Choose locations around the school day: a staffed exit, main office or another agreed release point. Keep the path clear and practice the routine with your actual bag and dock combination.
See school placement ideas →The illustrated guide
Unlock Dock & accessories installation guide
Official Generation Faraday instructions
View the illustrated instructions
Based on the official Generation Faraday product instructions and public setup resources. Use the illustrated guide for your exact configuration.