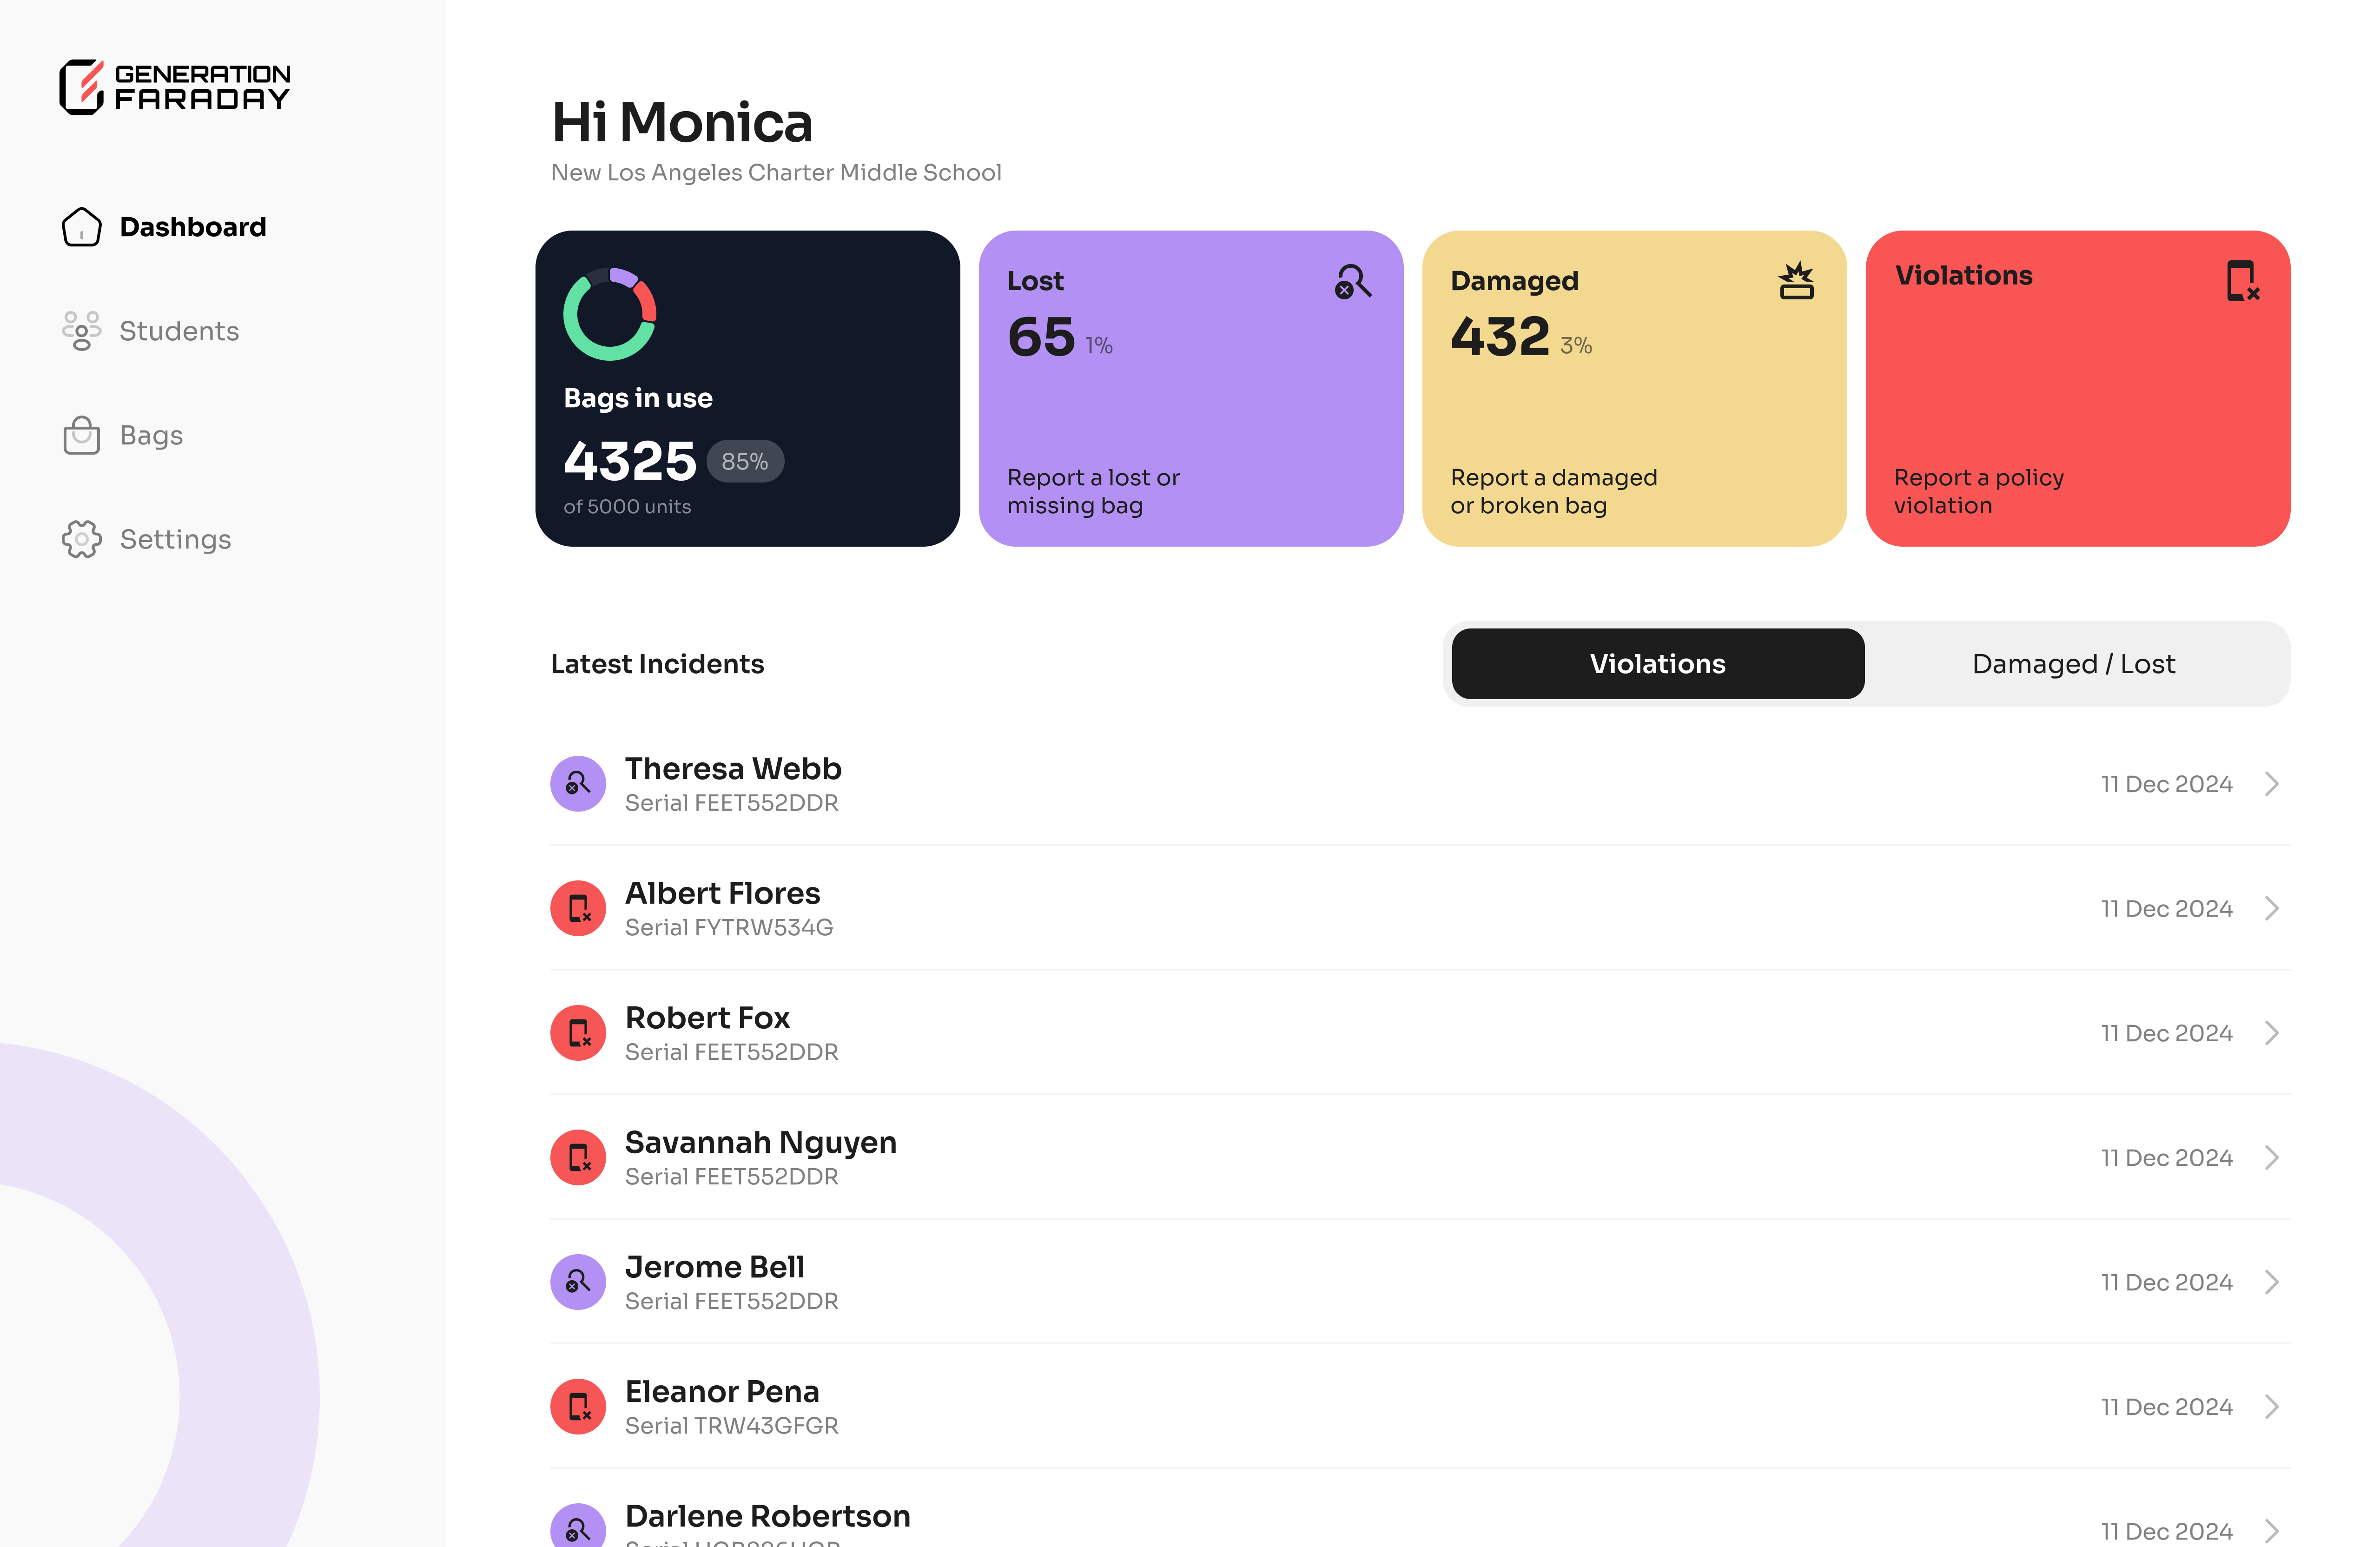
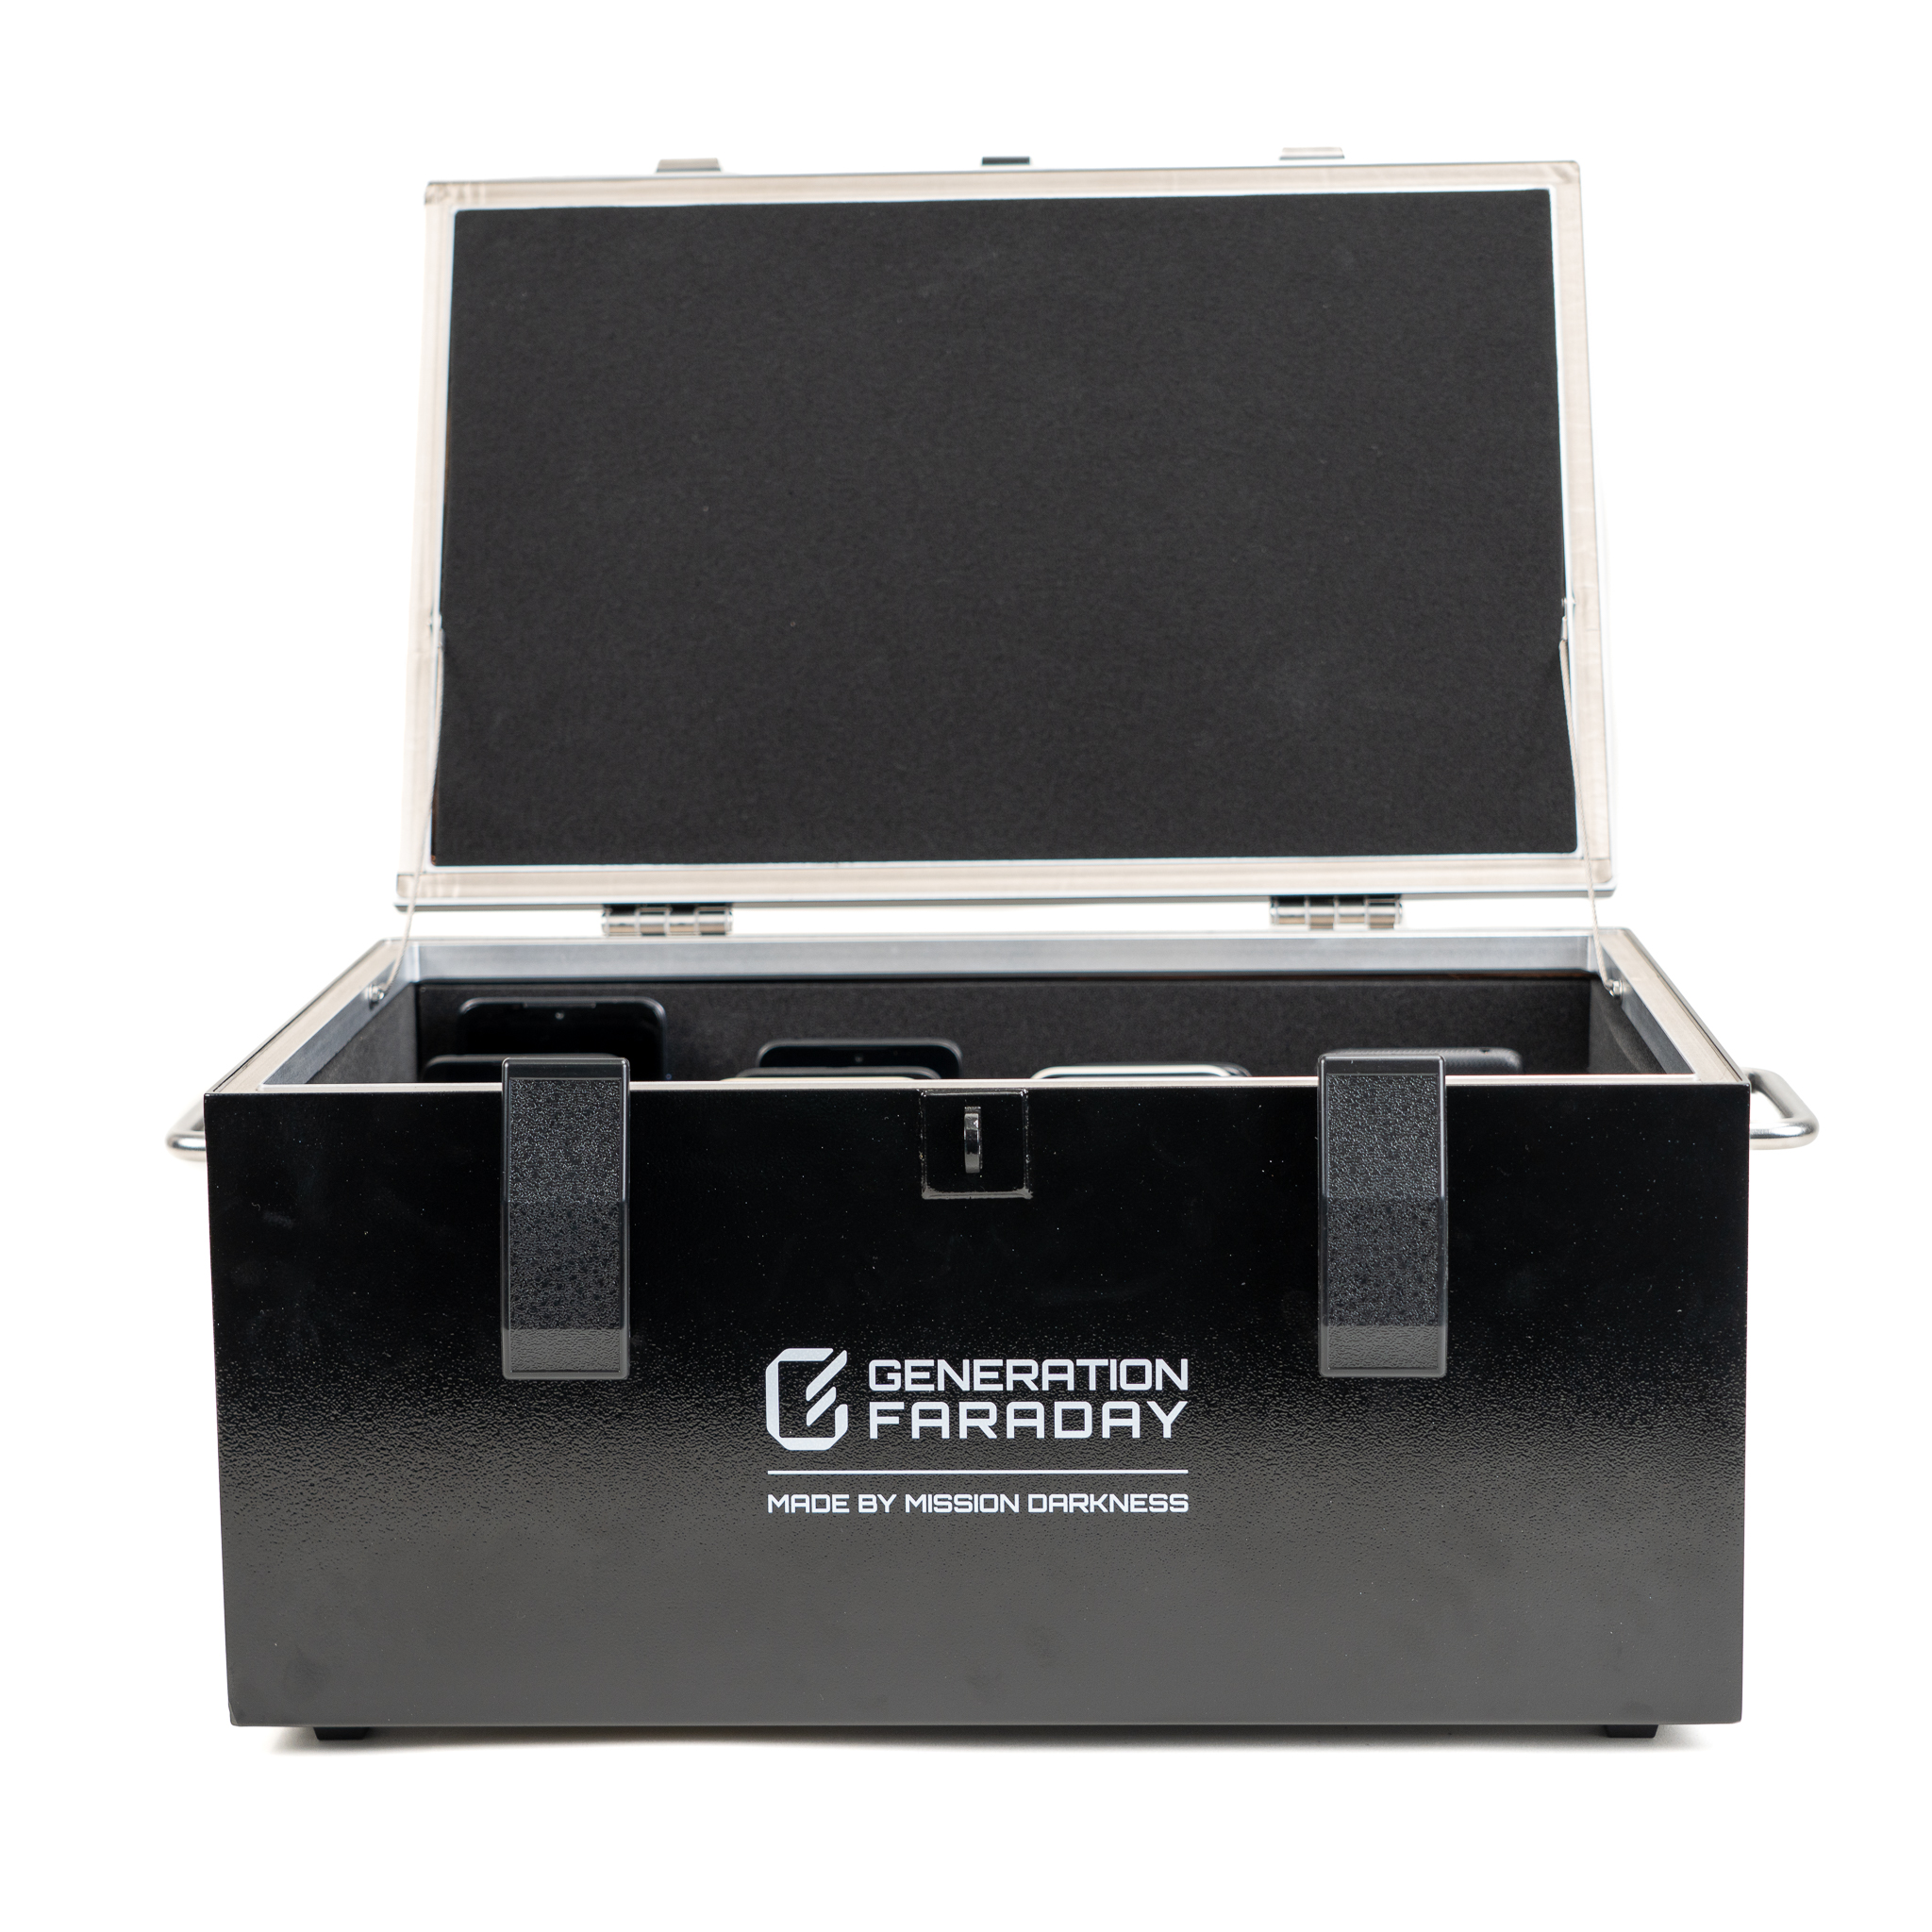
Make collection feel routine
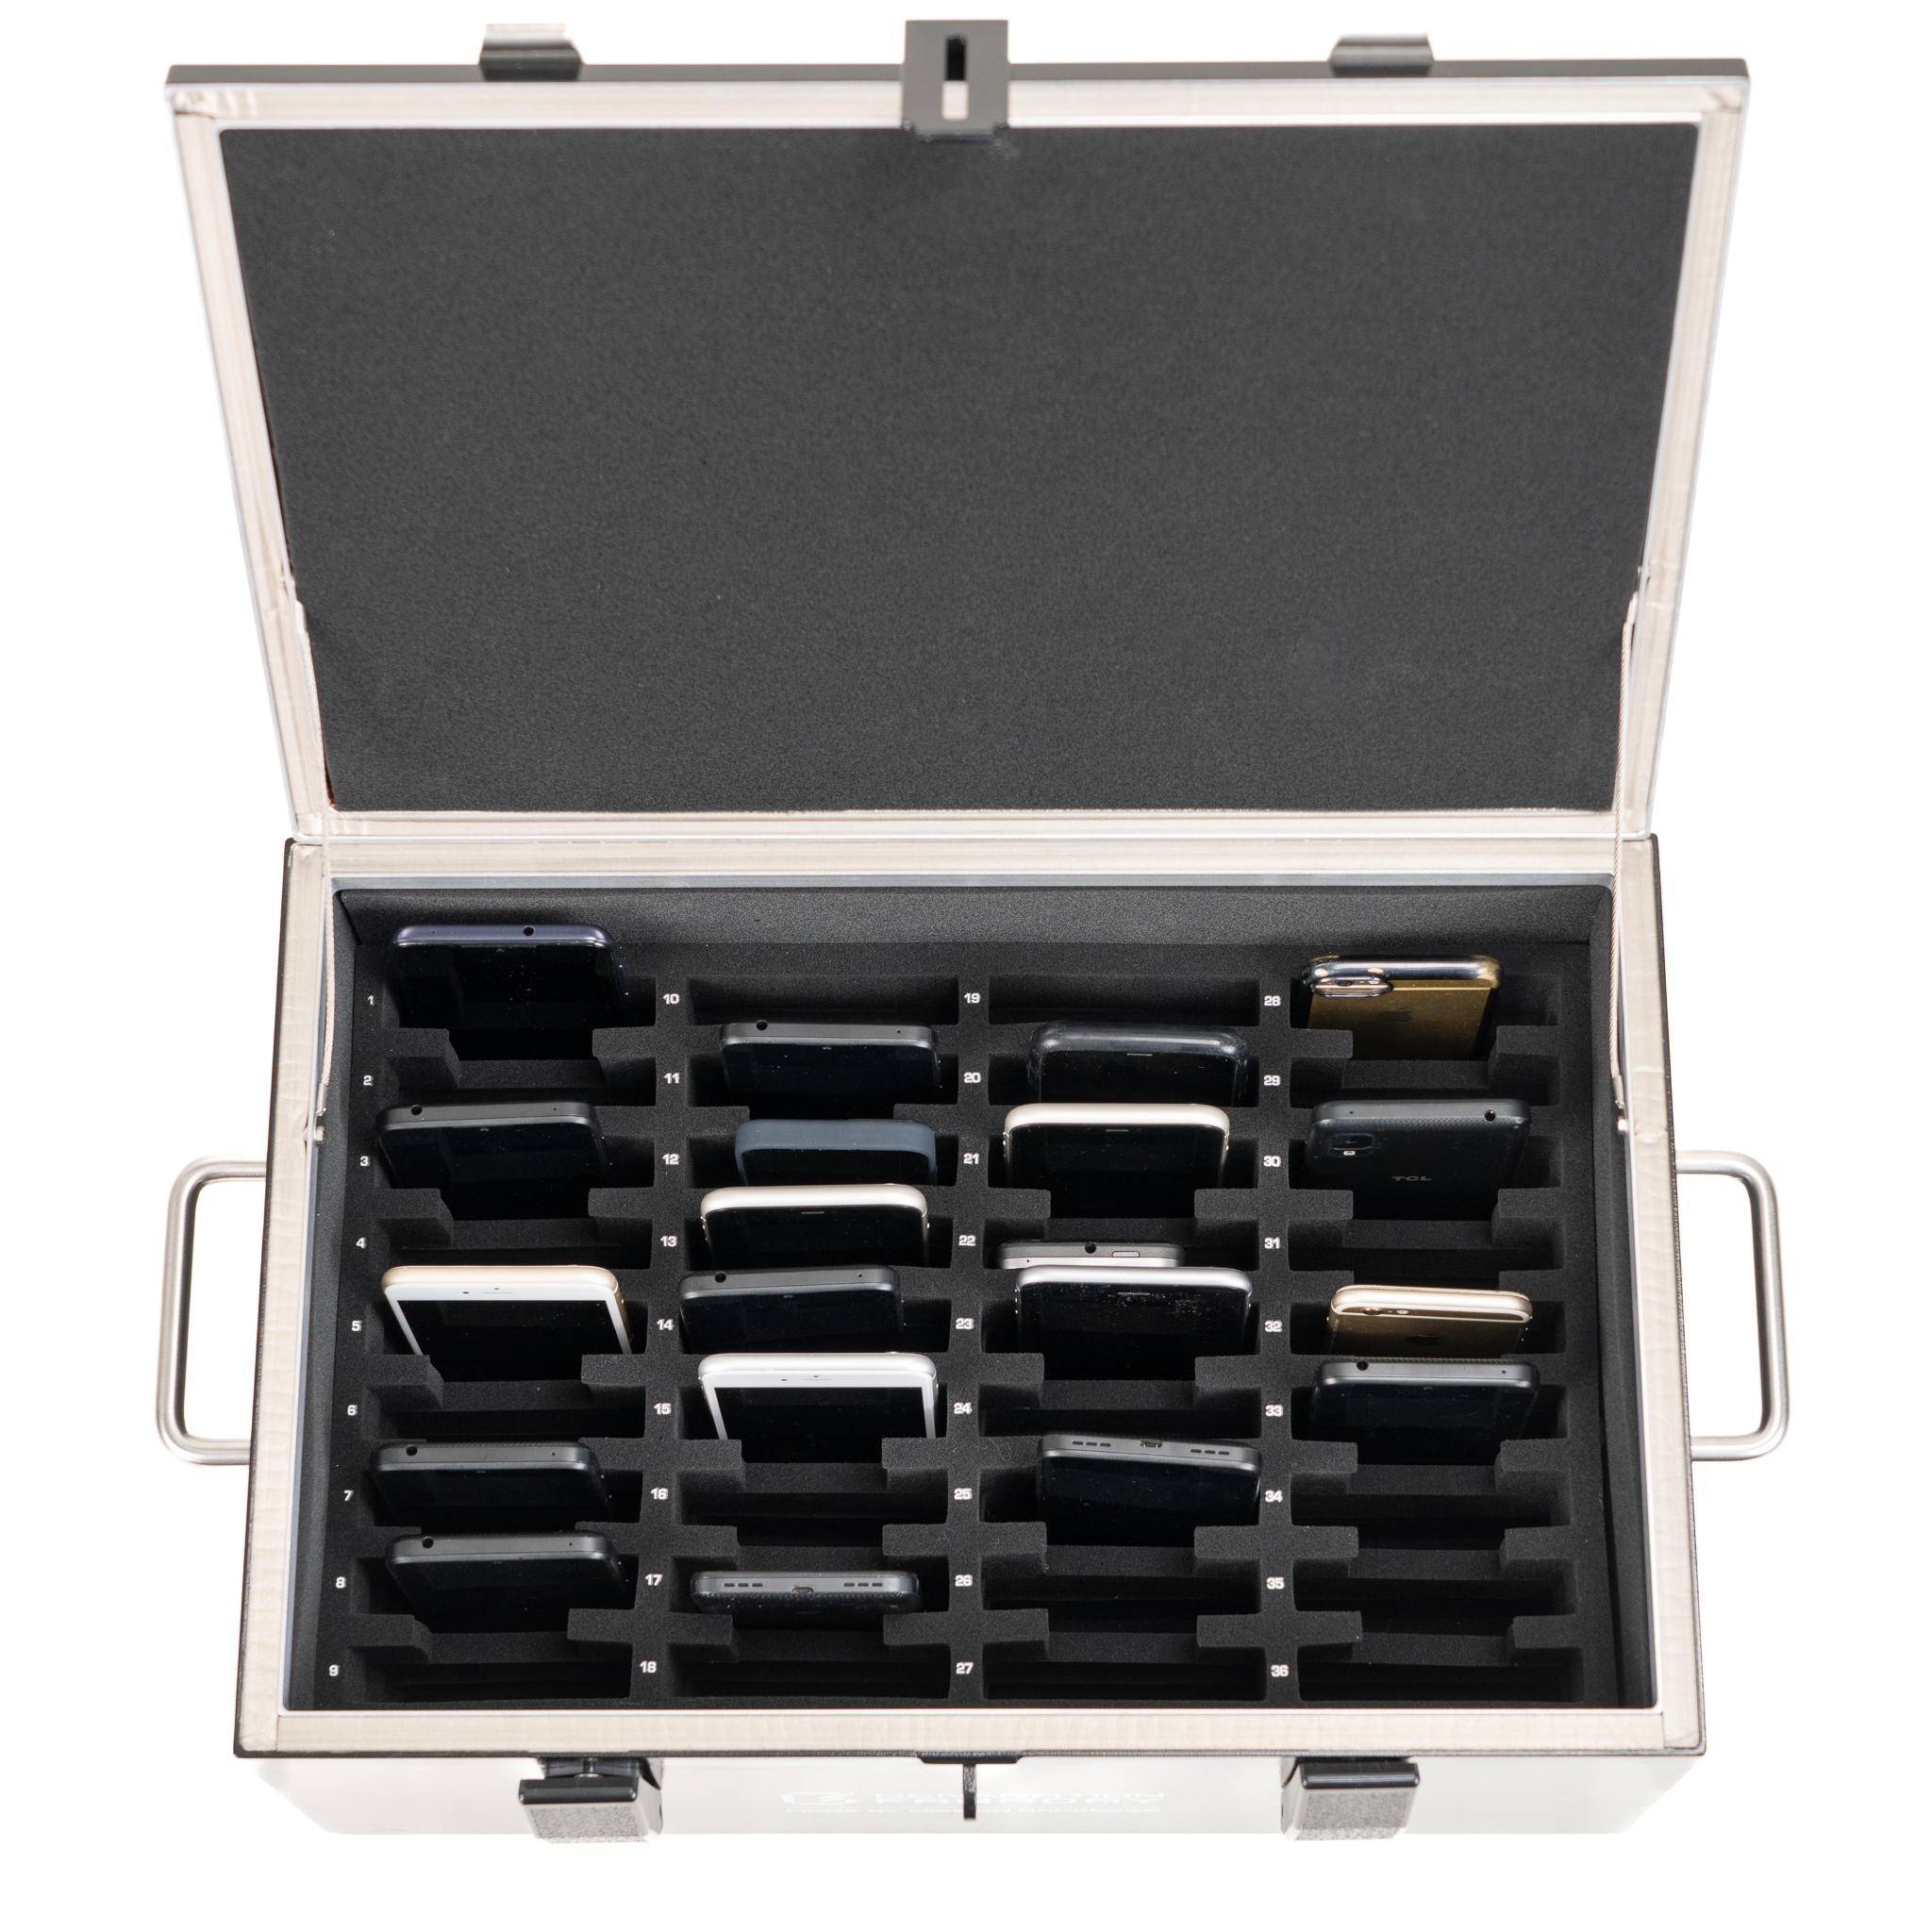
Assign each student a number.
Give each student a consistent numbered compartment so collection and return follow the same order.
Load one phone into each space.
Place devices fully inside the box, one per compartment. Keep the lid edge and sealing surfaces clear.
Close the full length of the lid.
Seat the lid firmly along its entire edge. Secure the lid latch with the padlock according to your school’s procedure.
Return devices in order.
At the agreed release time, a member of staff unlocks the box and returns phones to their assigned owners.
Give every box a digital home
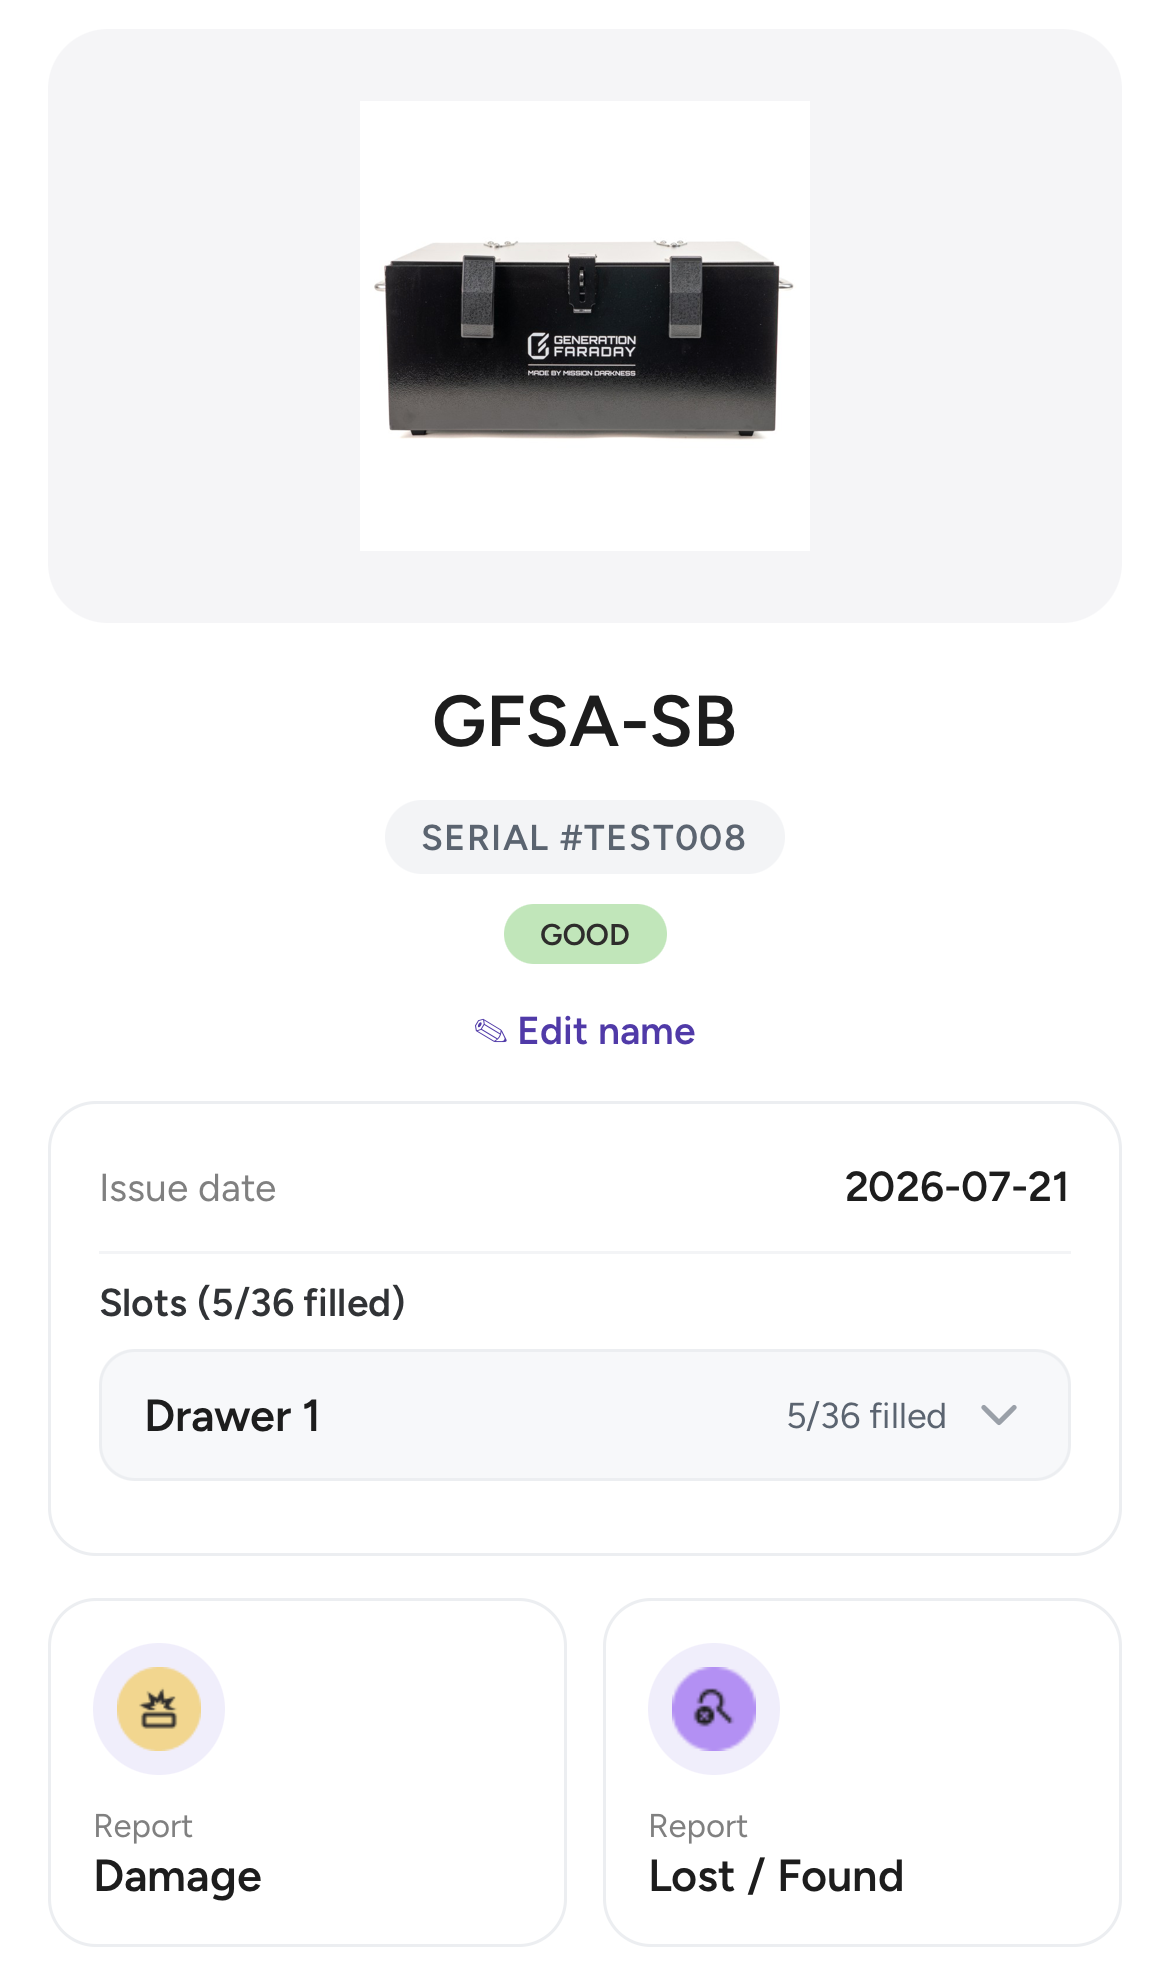
In the Generation Faraday app, scan the RFID tag at the “scan here” mark or search its serial number. Name the unit for its location—such as Room 118—and assign students to its numbered spaces.
Staff can record collection, policy issues and condition updates. The tag identifies the box; staff enter the records about students and devices.
Explore the app workflow →Care for the seal
Clean it dry.
Use a soft, dry cloth. The official guide specifies no moisture or solvents.
Store the lid open.
Leave the lid open while the box is not in use to reduce compression on the gaskets.
Each term, check the seal using the phone-call procedure in the guide. If a signal gets through, contact support and follow the replacement-gasket instructions. A spare set of gaskets is included.
Replace gaskets one at a time
Match the part before removing it.
Work on one gasket at a time so the size and orientation stay matched.
Fit the replacement.
Peel the old gasket from its lid or base channel. Remove the backing from the matching new gasket and press it into the same channel.
Recheck the closure.
Repeat for the remaining gaskets, then close the lid and perform the phone-call check described in the official guide.
The illustrated guide
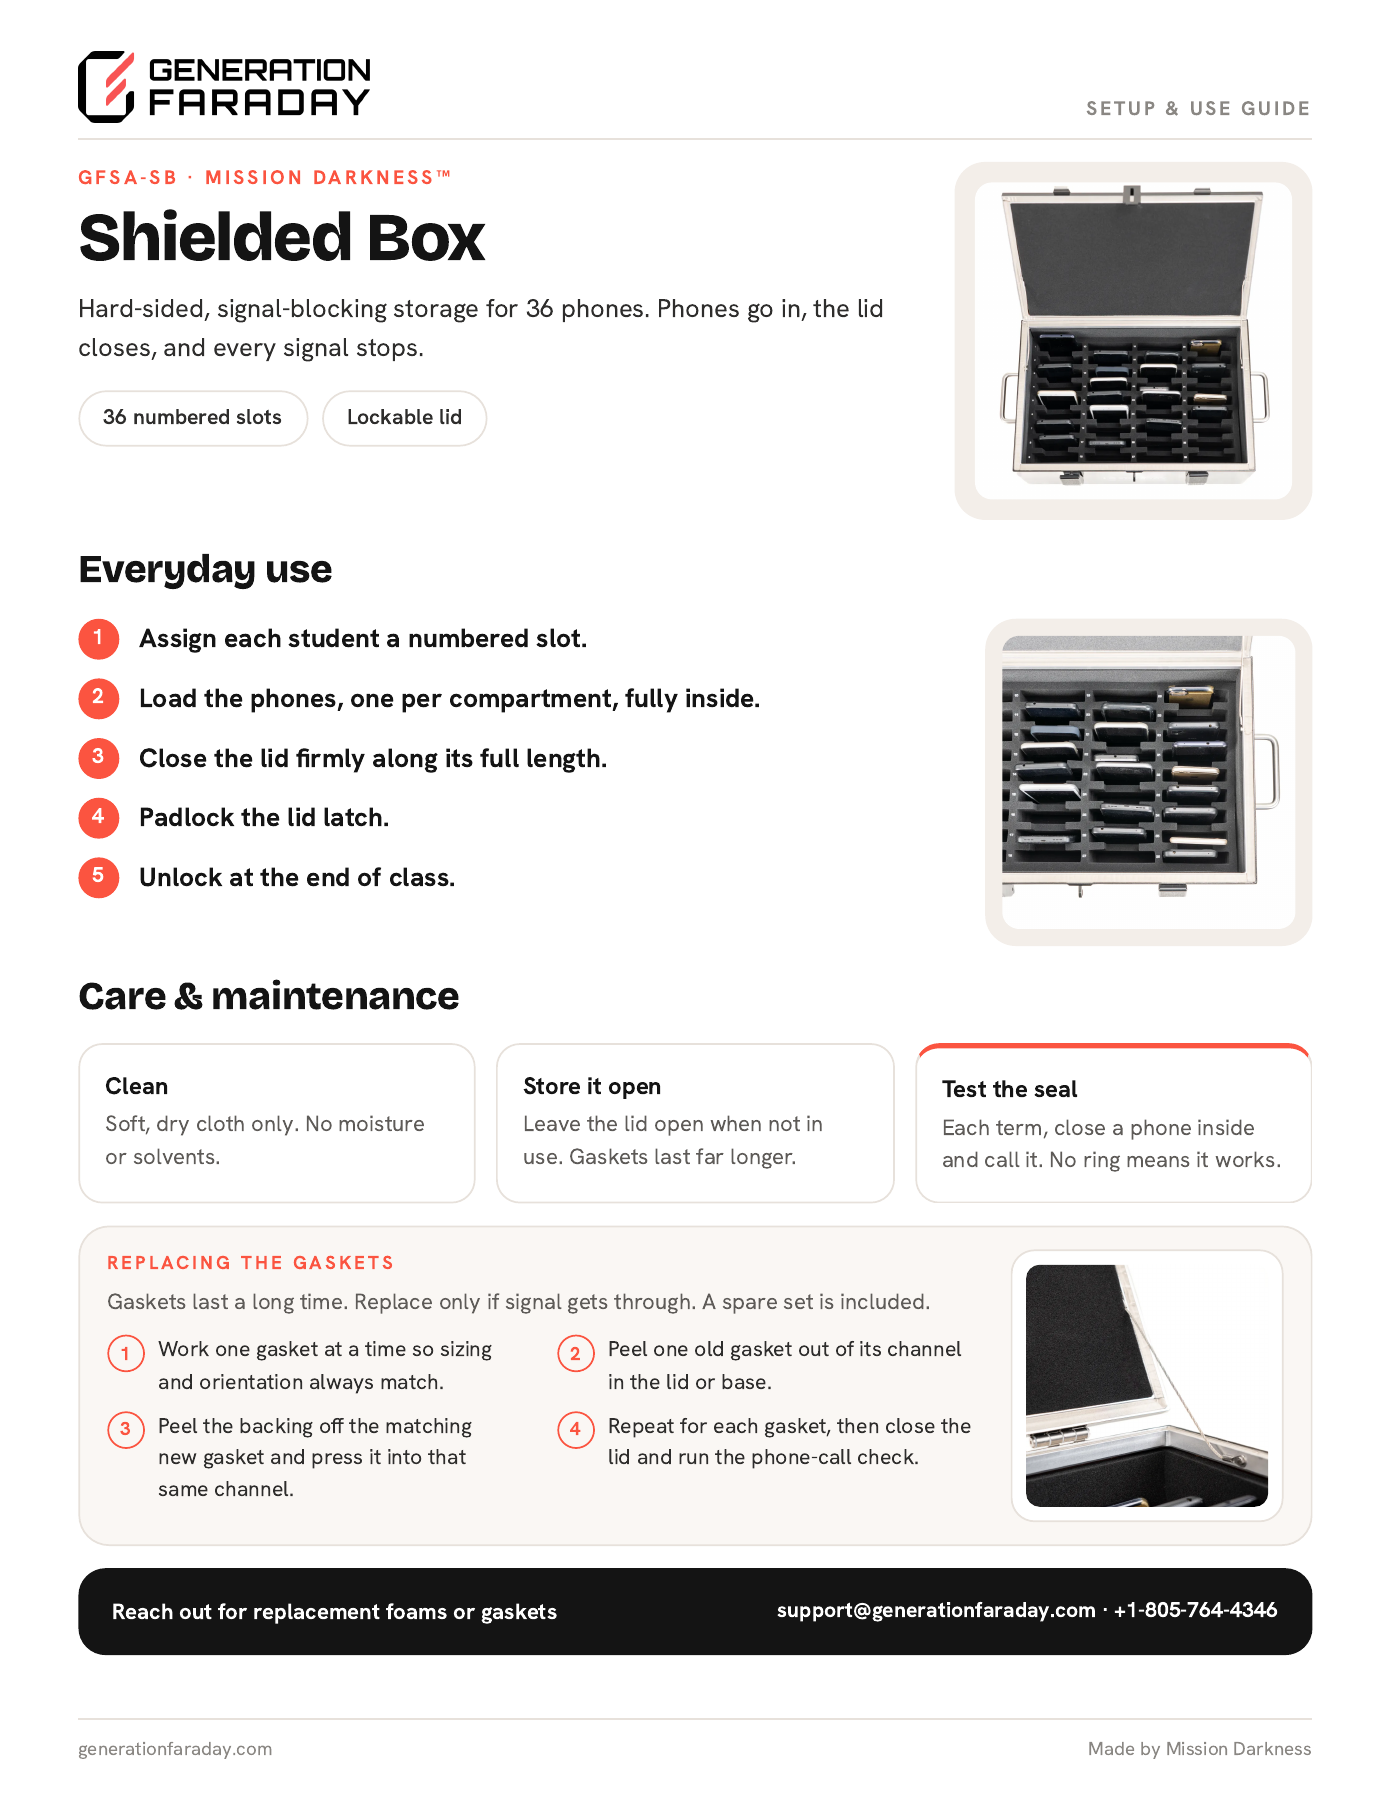 Open the full guide ↗
Shielded Box setup & use guide
Official Generation Faraday instructions
View the illustrated instructions
Based on the official Generation Faraday product instructions and public setup resources. Use the illustrated guide for your exact configuration.